Mask Generator
A step-by-step guide for setting up the Mask Generator Unity simulation so you can use it as-is or customize it to fit your needs.
Use the table of contents on the right to navigate this page. You can also use the mobile menu to access the navigation.
Tutorial
Note: This tutorial assumes you have some basic knowledge of Unity.
It does not explain how to use Unity from scratch, and may be challenging for complete beginners.
In this tutorial, you will learn how to:
- Use the simulation as-is
- Customize the simulation
- Generate datasets using a config file
Before You Start
Ensure the following prerequisites are met:
- Unity Hub is installed (download it here)
- The MaskGenerator Unity project folder is accessible and fully unzipped
- You have a stable internet connection
Part 1: Open the Project
Follow these steps to open the project and install required packages:
- Open Unity Hub and Add the project from disk

- Install the required Unity Editor version if prompted
- Open the project
- Load the scene:
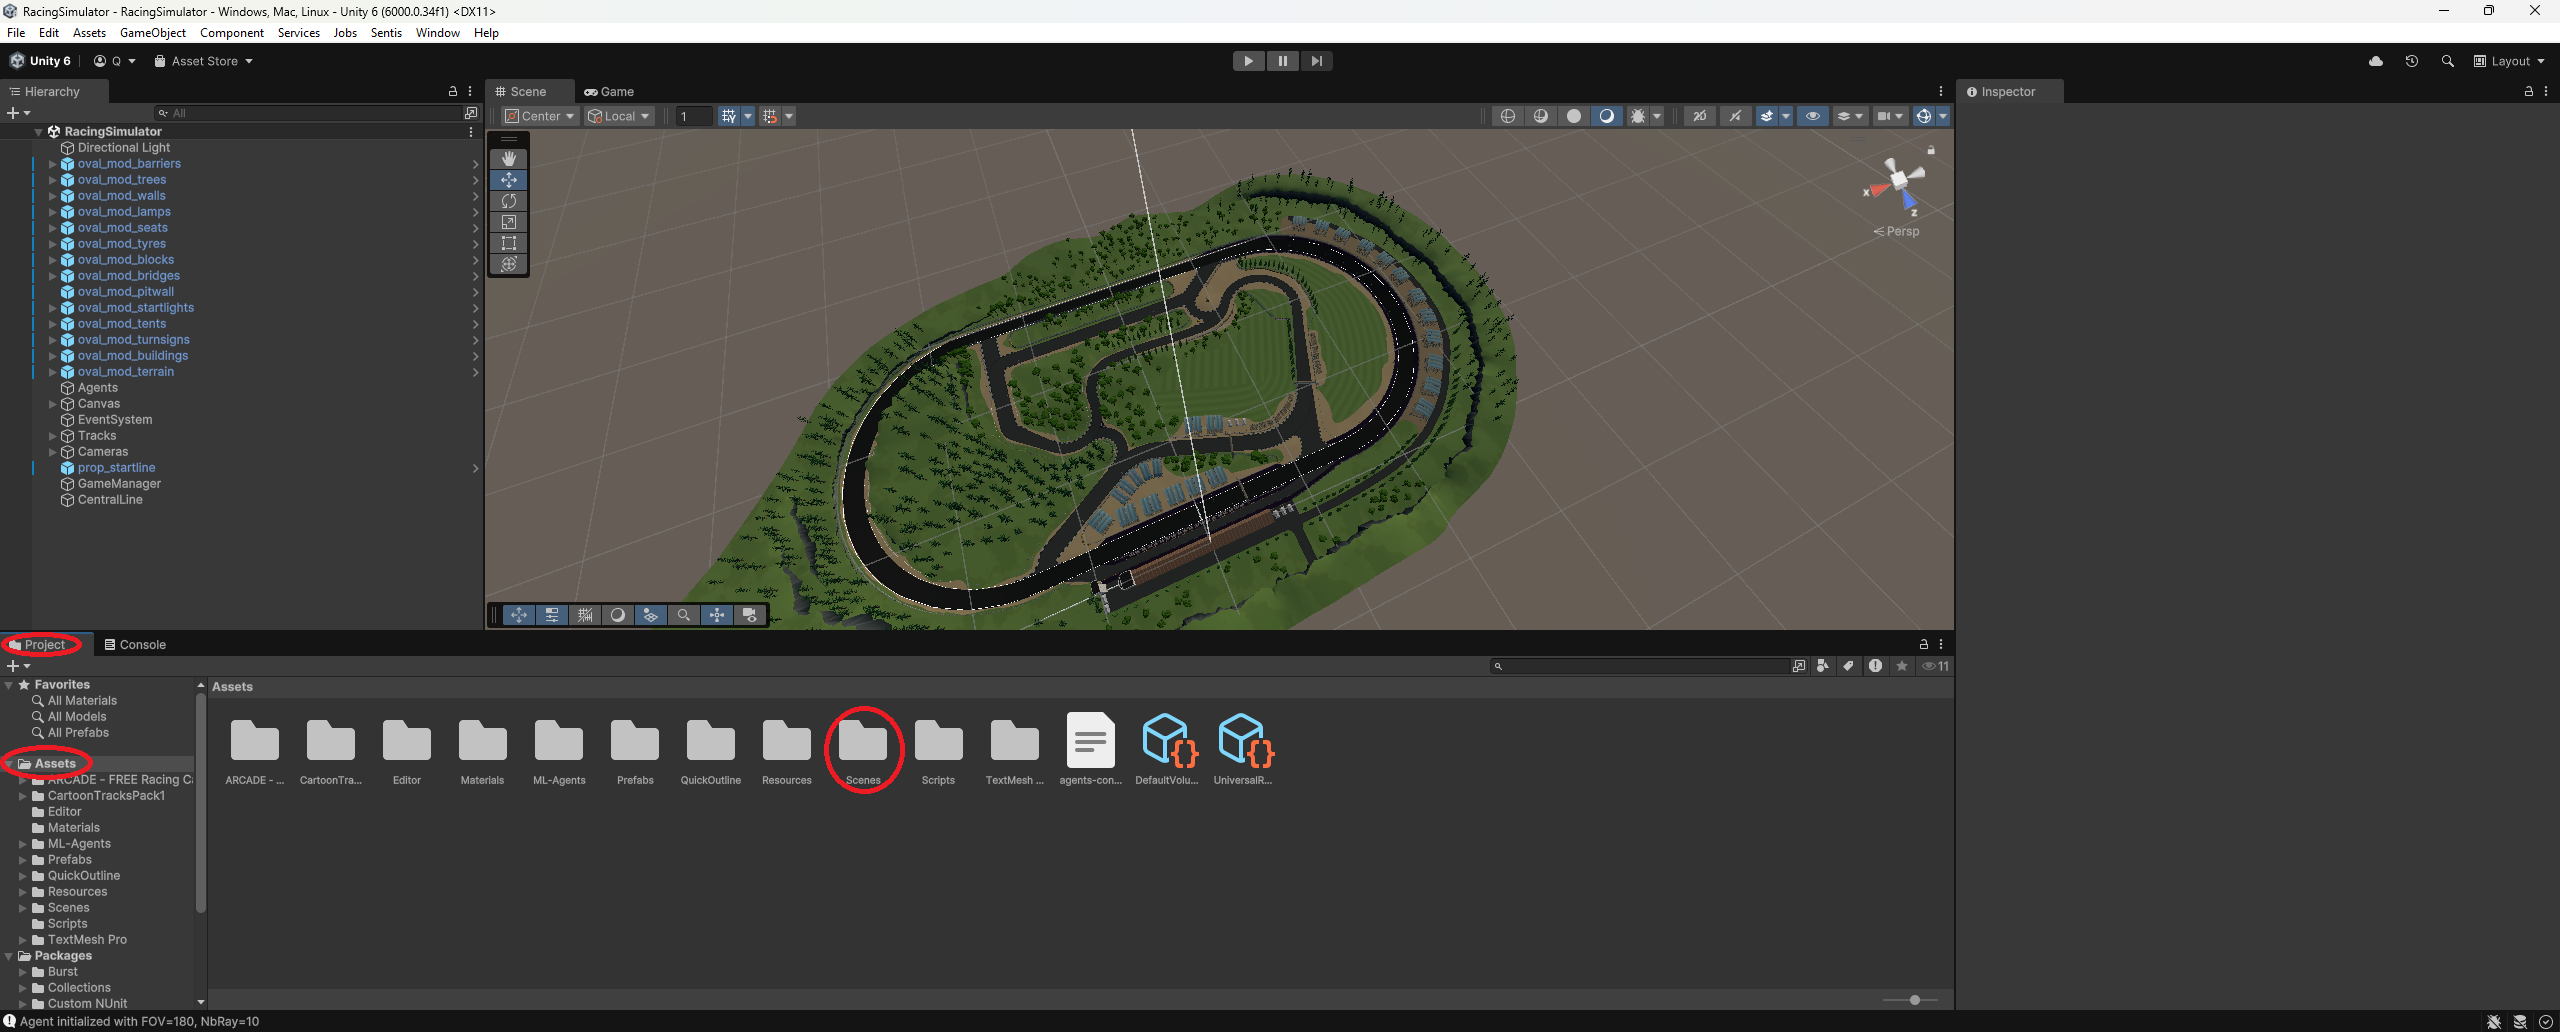
- Go to the Assets folder in the Project tab
- Open the Scenes folder
- Double-click on
RacingSimulator.unity
- Install required packages via the Package Manager
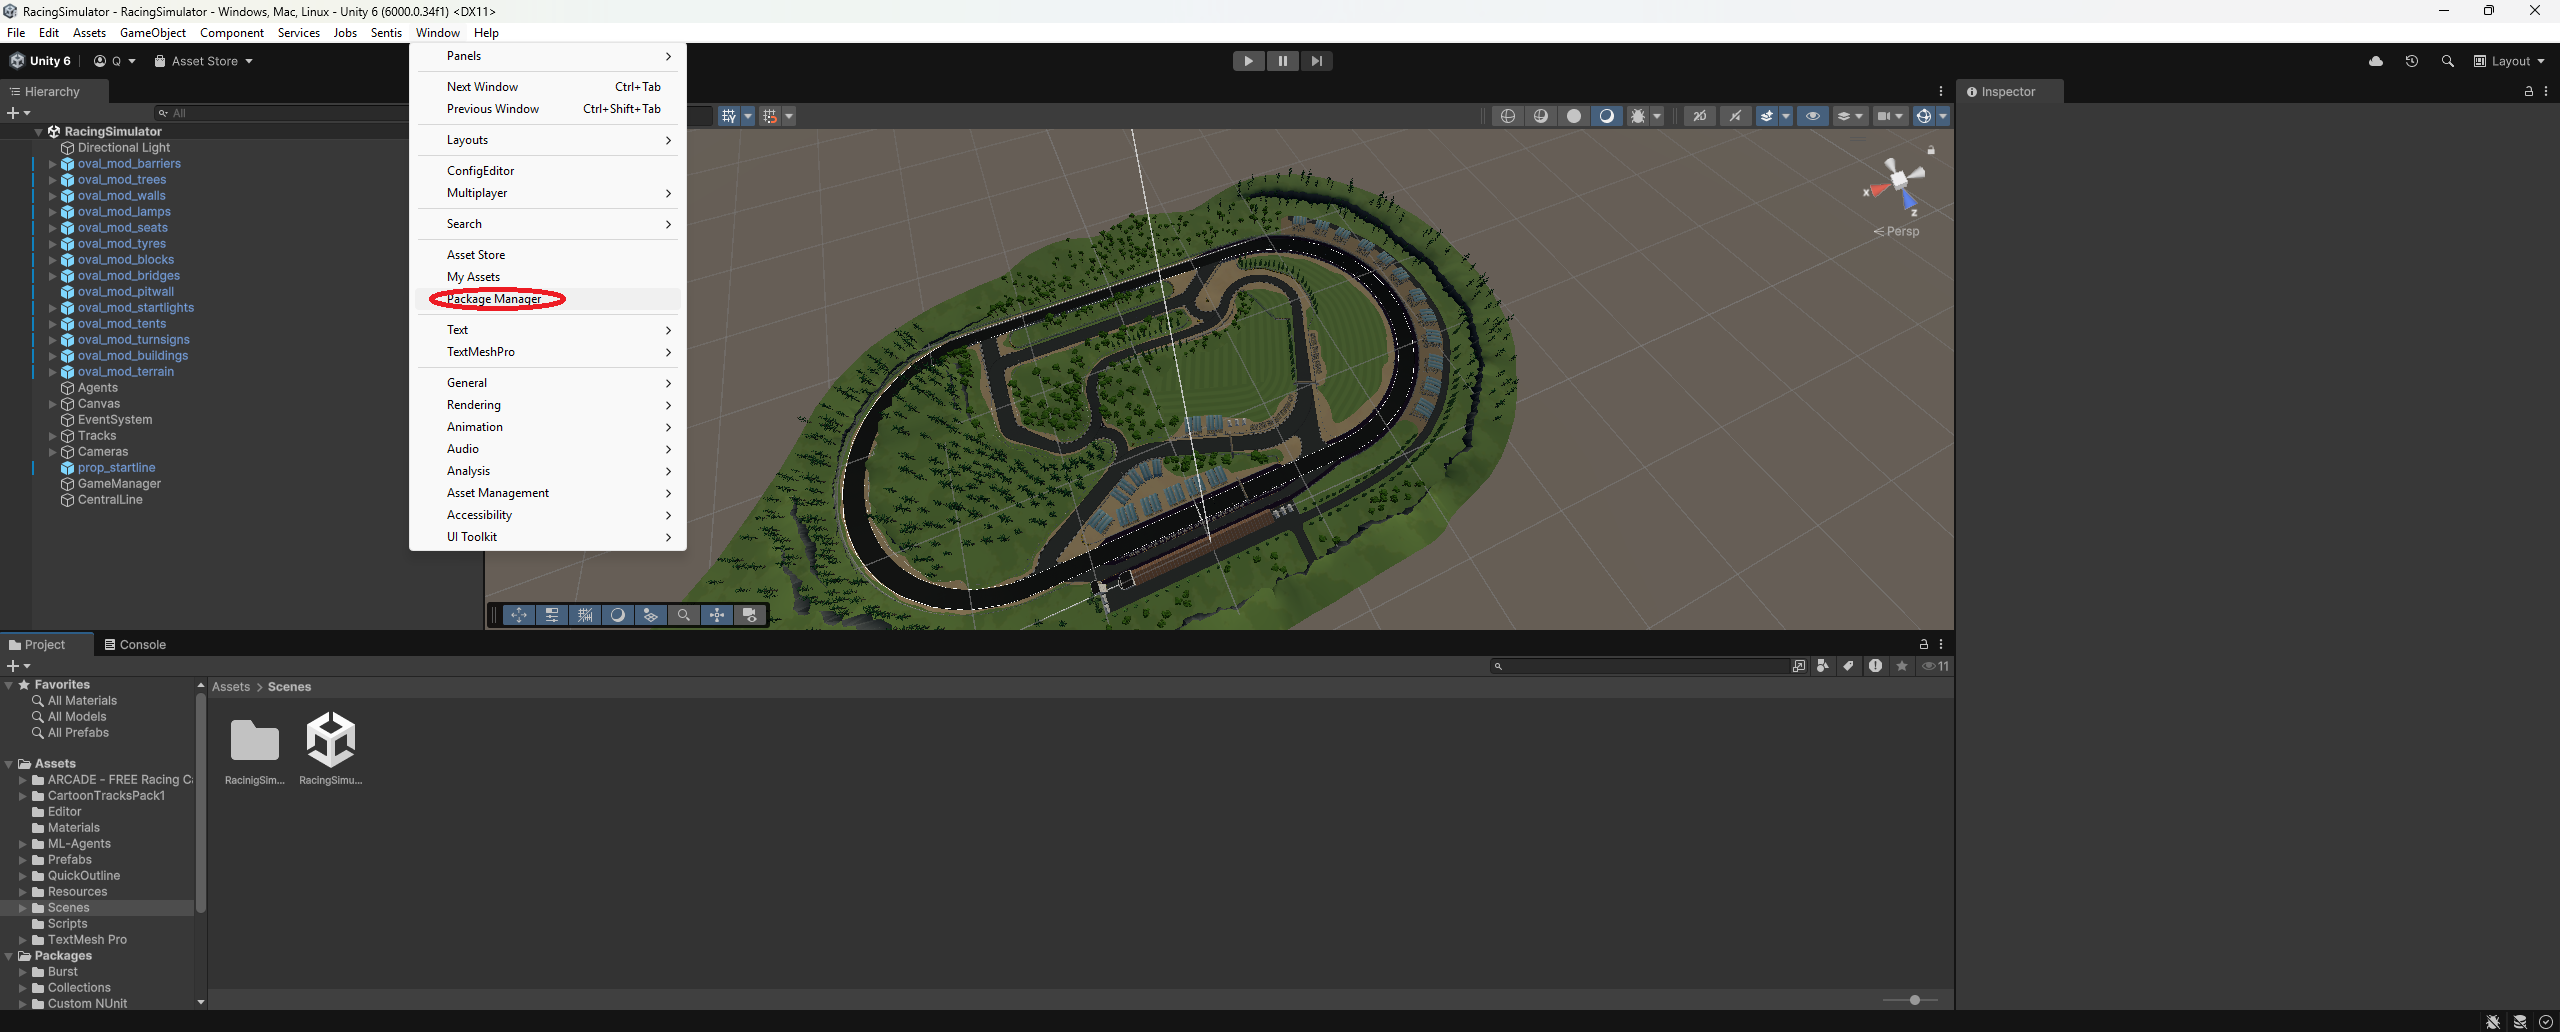
- Ensure the following packages are installed:
com.unity.ugui(Unity UI)com.unity.ml-agents(ML Agents)
If everything is set up correctly, you can now run the simulation using the Play button.
Tip: If you cloned the project and textures are missing, you may need to use Git LFS
Part 2: Project Overview
This section gives a high-level description of key GameObjects and systems.
Part 3: Code Documentation
For more details about the scripts and components, please refer to the internal documentation provided in the codebase.
Part 4: Generate a Dataset
To generate a dataset:
- Open
generator-config.jsonand configure the desired parameters. - Click Play in the Unity Editor to start the simulation.
- The console will display progress (e.g., how many images have been generated).
- When finished, the version’s output folder will open automatically with the generated dataset.
Here is an overview of the config file:
{
   "nbImage": 10, // number of image pairs (RGB and mask)
   "rotationRange": 70, // random rotation range in degrees per frame (e.g., -70° to 70°), to avoid identical directions
   "imageWidth": 256, // width of each image
   "imageHeight": 256, // height of each image
   "posZoneRadius": 0, // radius within which the camera position is randomly offset to avoid always being centered
   "cameraHeightRange": { // vertical range for camera position to generalize perspectives
      "min": 2,
      "max": 3
   },
   "cameraAngleRange": { // downward tilt range of the camera, affects line appearance and position
      "min": 5,
      "max": 20
   },
   "blurQuantityPercent": 0, // amount of motion blur applied (in percent)
   "grainQuantityPercent": 0, // amount of grain (noise) added to the image
   "coloredGrainQuantityPercent": 0, // percentage of grain that is colored (e.g., 50% grain, 50% colored = 25% of images with colored grain)
   "colorGradientQuantityPercent": 0, // intensity of color grading (whitening/lighting effects)
   "shapeQuantityPercent": 0, // percentage of random white shapes to simulate light patterns on the ground
   "maxShapeDensity": 0, // how dense the shapes should be (higher = more shapes)
   "lineWidthMultiplierRange": { // range to randomly scale line widths per frame
      "min": 0.1,
      "max": 0.3
   },
   "versionDirectory": "0.1.2", // output directory name for this dataset version
   "fixMaskLineWidth": false // whether to fix mask line width (true = constant size; helps model learn consistent features)
}
Contributing
If you encounter a bug or have trouble using the project, please create an issue to report it.
We welcome contributions! You can:
- Submit a pull request to fix bugs
- Improve or expand the documentation
- Add new features or enhancements
Thank you for helping make this project better!
The improved styling includes better spacing, more color accents, and enhanced readability for all content elements.