Racing Simulator
A step-by-step guide for setting up the Racing Simulator Unity simulation so you can use it as-is or customize it to fit your needs.
Use the table of contents on the right to navigate this page. You can also use the mobile menu to access the navigation.
Tutorial
Note: This tutorial assumes you have some basic knowledge of Unity.
It does not explain how to use Unity from scratch, and may be challenging for complete beginners.
While the tutorial involves Unity ML-Agents, it focuses solely on scripting. If you’re looking to use Unity’s AI config files, please refer to other resources.
In this tutorial, you will learn how to:
- Use the simulation as-is
- Customize the simulation
Before You Start
Make sure the following prerequisites are met:
- Unity Hub is installed (you can download it here)
- The RacingSimulator Unity project folder is accessible and fully unzipped
- You have a stable internet connection
Part 1: Open the Project
In this section, we’ll guide you through opening the project in Unity Editor and installing required packages.
- Open Unity Hub and Add the project from disk

- Install the required Unity Editor version if prompted
- Open the project
- Load the scene:
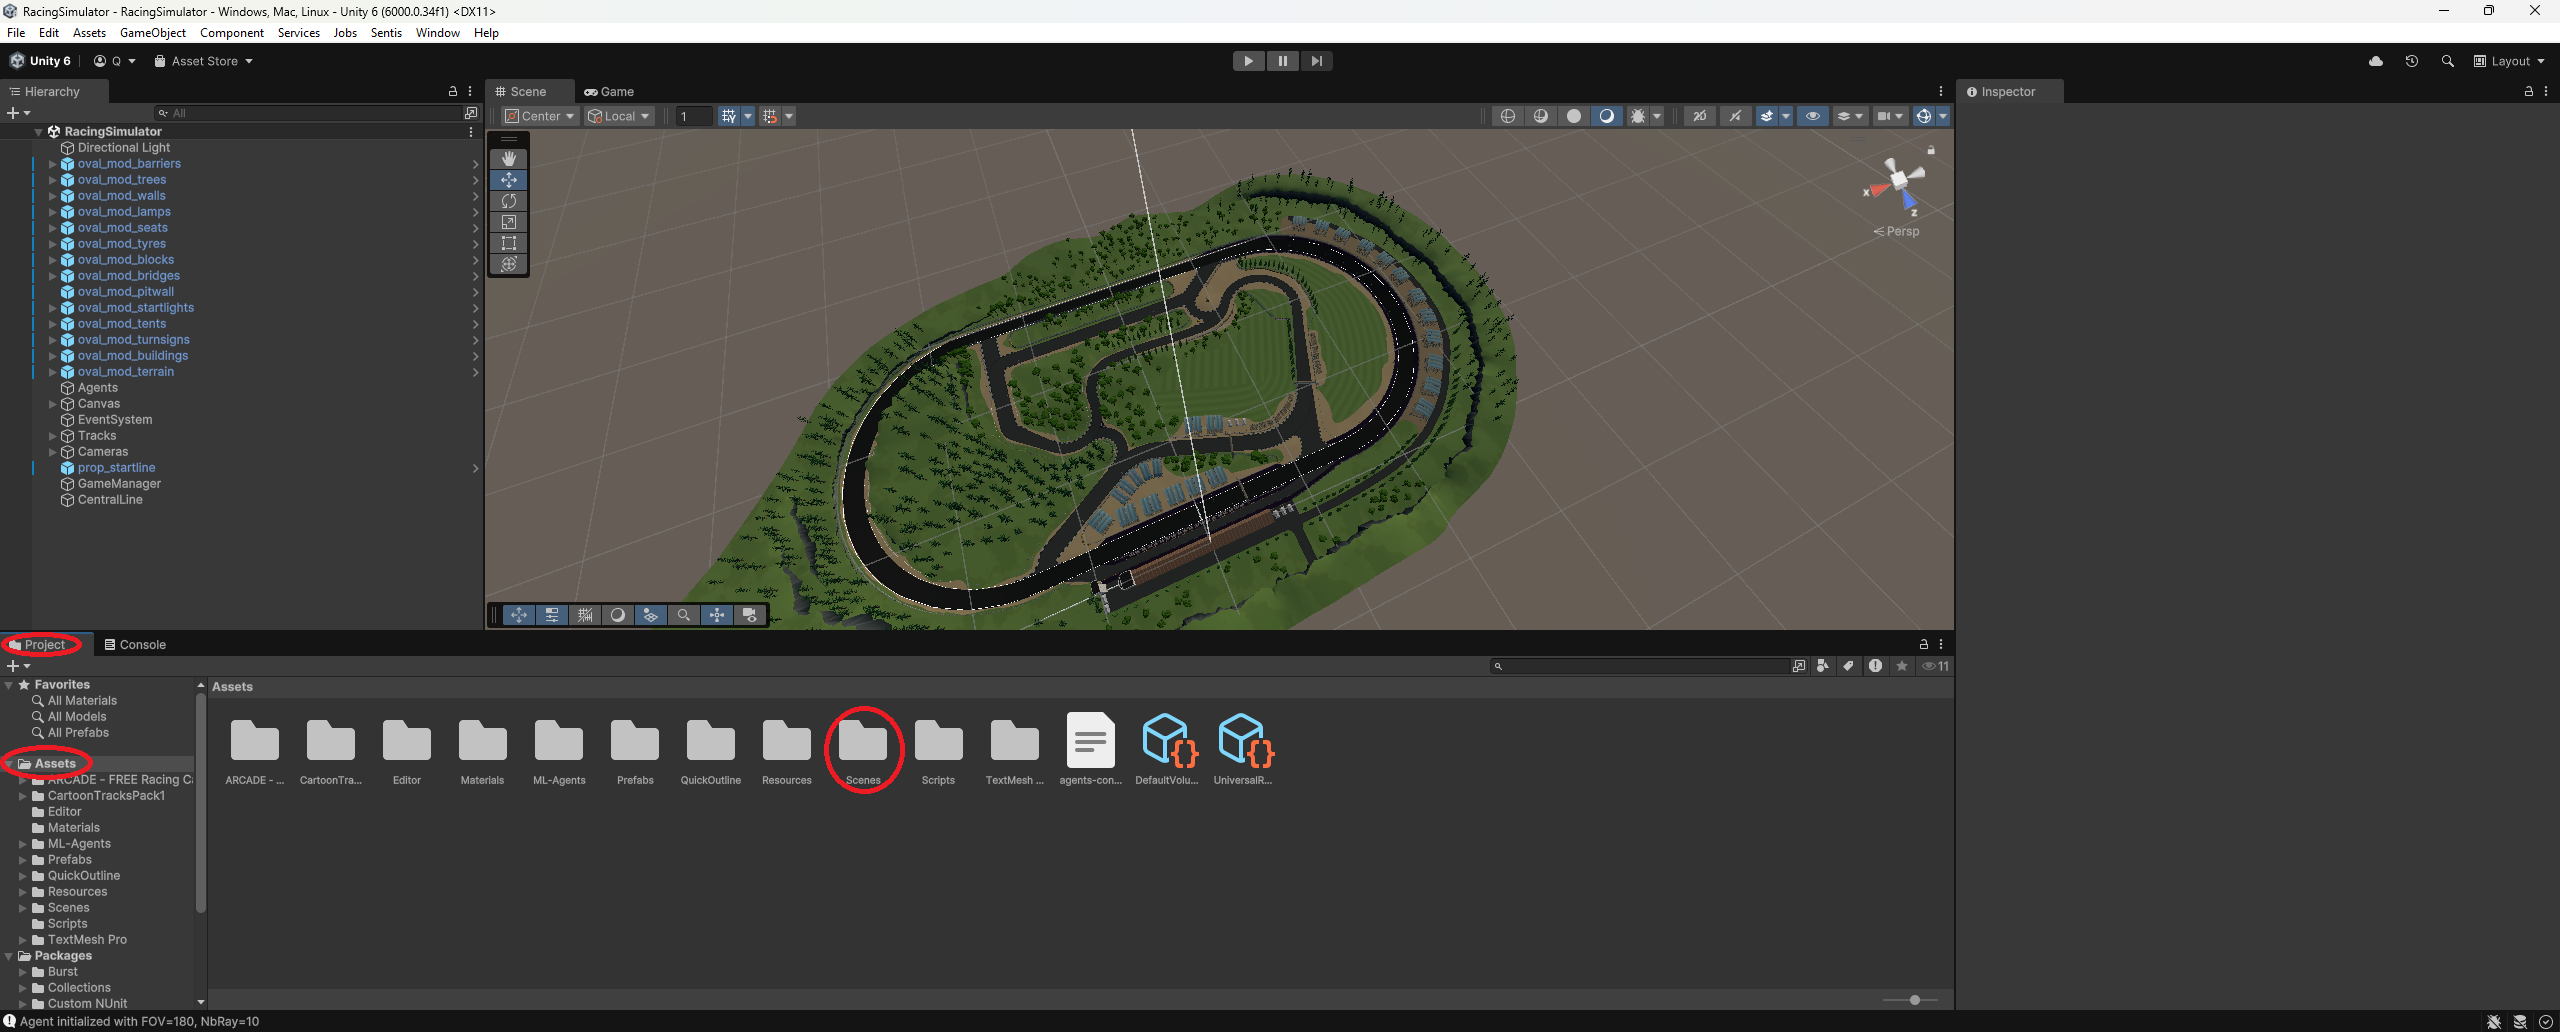
- Go to the Assets folder in the Project tab
- Open the Scenes folder
- Double-click on
RacingSimulator.unity
- Install required packages via the Package Manager
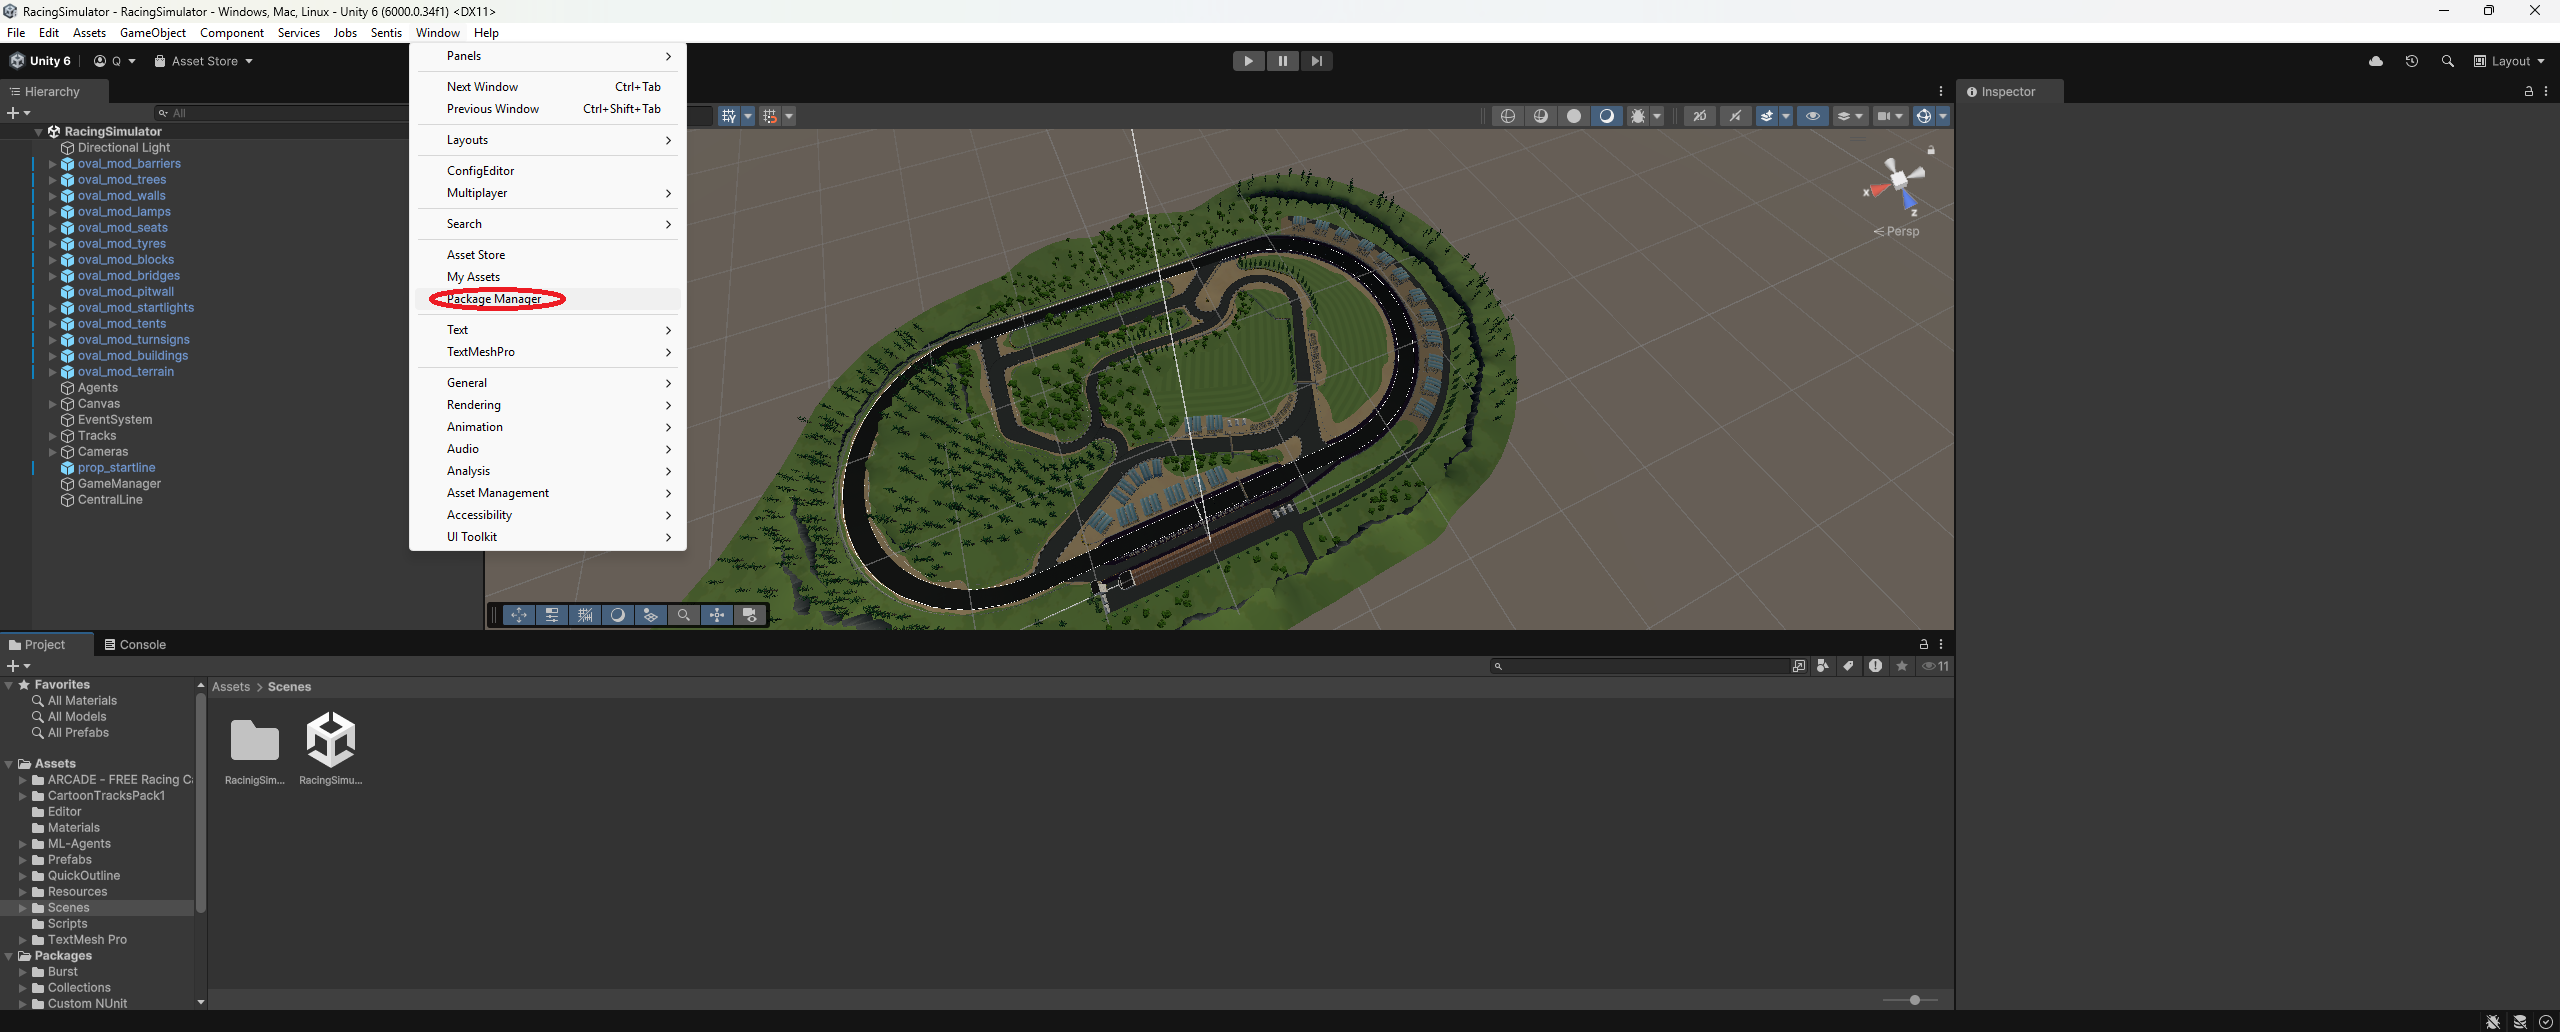
- Ensure the following packages are installed:
com.unity.ugui(Unity UI)com.unity.ml-agents(ML Agents)
If everything is set up correctly, you should now be able to run the simulation using the Play button.
Tip: If you cloned the project and textures are missing, you may need to use Git LFS
Part 2: Project Overview
This section provides an overview of the project components and their roles.
Part 3: Code Documentation
For more in-depth information about the codebase, please refer to the project’s internal documentation.
Part 4: Build the Project
To create a build:
- Go to File → Build Settings
- Choose your operating system
- Ensure the correct scene is added to the Scenes In Build list
- Click Build
Note: You can connect a Python script directly to the Unity Editor, but it’s generally less convenient than using a built version.
Contributing
If you encounter any problems while using this project, feel free to create an issue to let us know.
We also welcome contributions!
You can submit a pull request if you’d like to:
- Fix a bug
- Improve the documentation
- Add a new feature
Thanks for helping make this project better!package_manager_unity.png)
- Ensure the following packages a
The improved styling includes better spacing, more color accents, and enhanced readability for all content elements.